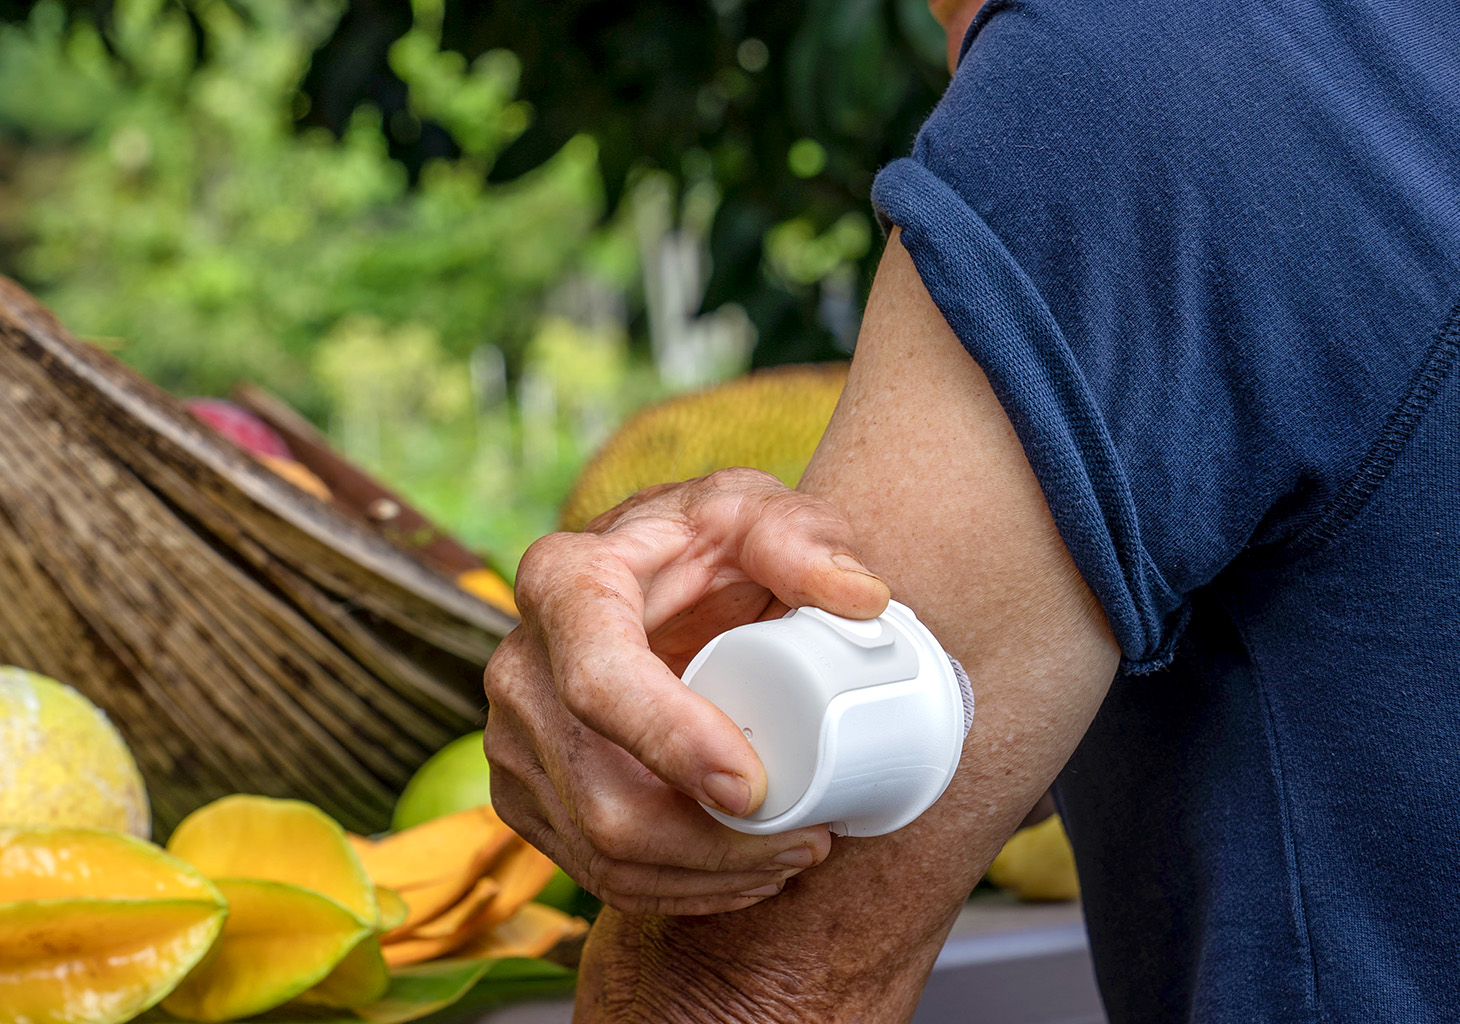
Before inserting your Dexcom G7 sensor, gather the necessary materials: the applicator with built-in sensor, alcohol wipes, and check to make sure your sensor is compatible with your Tandem Diabetes Care insulin pump.
Next, choose a suitable sensor site on the back of your upper arm, ideally an area with some padding. Avoid placing the sensor over bones, irritated skin, tattoos, or areas that are frequently bumped.
Once you’ve completed these preliminary steps, follow the instructions below:
- Wash and dry your hands thoroughly
- Clean your sensor site using an alcohol wipe
- Unscrew the cap from the Dexcom applicator. Do not touch inside.
- Place the applicator against your skin
- Press the applicator button to insert the sensor
- Remove the applicator. The patch and sensor will remain on your skin.
- Throw away the applicator according to your local guidelines for disposal of blood-contacting components

Watch this video for visual steps on how to insert a sensor:
For more information and an illustrated step-by-step guide to inserting a sensor, please consult the Dexcom user guide and refer to the table of contents.
Important Note About CGM Support
Dexcom and Tandem have agreed which system issues are best handled by each company, including which company is responsible for reporting those events to the appropriate regulatory authority. To help ensure that the required reporting takes place in a timely fashion, customers may need to contact Dexcom for some issues and Tandem for others. Learn which continuous glucose monitoring (CGM) issues are specific to the sensor or the insulin pump, and which company to contact.